Flash can feel confusing when you’re starting out, especially because it doesn’t behave the same way as ambient light. But once you understand how your camera settings interact with your flash, everything becomes much more predictable. Instead of guessing, you’ll start to shape your lighting—controlling brightness, mood, and clarity with intention.
The Basics:
Shutter Speed: Controls the Ambient Light (Not the Flash)
One of the biggest surprises for beginners is that shutter speed doesn’t change the brightness of the flash on your subject. As long as you’re below your camera’s sync speed (usually 1/160–1/250), the flash exposure stays the same.
What shutter speed does change:
- The brightness of the background
- How much ambient light is recorded
- The overall mood of the scene
Slow shutter = more ambient light
This brightens the environment and blends flash with the room’s natural light. Great for event photography where you want the background to feel alive.
Fast shutter = less ambient light
This darkens the surroundings, giving the flash more “control” over the scene. Perfect for spotlighting subjects in dark rooms or creating a dramatic look.
Aperture: The Main Control for Flash Brightness
Aperture affects both ambient and flash, but it has a strong impact on how bright the flash appears.
- Wide apertures (f/1.8, f/2.8) = flash looks stronger
- Narrow apertures (f/5.6, f/8, f/11) = flash appears weaker
Because flash happens in a split-second burst, the size of your aperture directly determines how much of that light hits the sensor.
Examples:
- Shooting portraits at f/2.8? You’ll need very low flash power.
- Shooting a group at f/8? You’ll need more flash power to compensate for the smaller opening.
Think of aperture as your flash “volume knob.”
ISO: The Sensitive Middle Ground
ISO raises the brightness of everything—ambient and flash.
- Higher ISO (800–3200) makes your flash more efficient
- Lower ISO (100–200) reduces flash strength and keeps backgrounds darker
ISO is perfect for fine-tuning when you’re close to the look you want but need a small adjustment.
For example:
If your subject is just a little too dark, raising ISO from 400 → 640 might fix the issue without adjusting flash power at all.
Flash Power: How Much Light You’re Adding
Flash power determines how bright your subject is, but it works alongside aperture, ISO, and distance. Changing one affects the others.
Strong flash:
- Needed for groups, high apertures, or bright daytime fill
Weak flash:
- Great for indoor portraits or subtle catchlights
Distance matters:
Double the distance = your flash becomes four times weaker.
This is why stepping back and zooming in can change the entire look of your lighting.
Practical Use
Balancing Flash With Ambient Light
Steps to balance:
- Expose the background using shutter speed + ISO
- Add flash only to lift the subject
- Adjust aperture to fine-tune the flash brightness
You can choose:
- Natural look (ambient + subtle flash)
- Dramatic look (dark ambient + stronger flash)
- Clean editorial look (neutral ambient + controlled flash)
Flash isn’t just about brightness—it’s about mood.
Techniques
Bounce Flash
Softens light and makes it natural, but requires:
- Light, neutral ceilings or walls
- Low enough ceilings
- Space to step back and adjust your angle
If conditions aren’t right, bounce will fail or create strange color casts.
Direct Flash With a Modifier
Using a diffuser, bounce card, or small softbox gives predictable, flattering results when bounce isn’t possible.
It’s reliable in:
- Venues with high or dark ceilings
- Outdoor night shoots
- Rooms with harsh down-lights
A good direct flash setup can look intentional, modern, and clean.
Dragging the Shutter
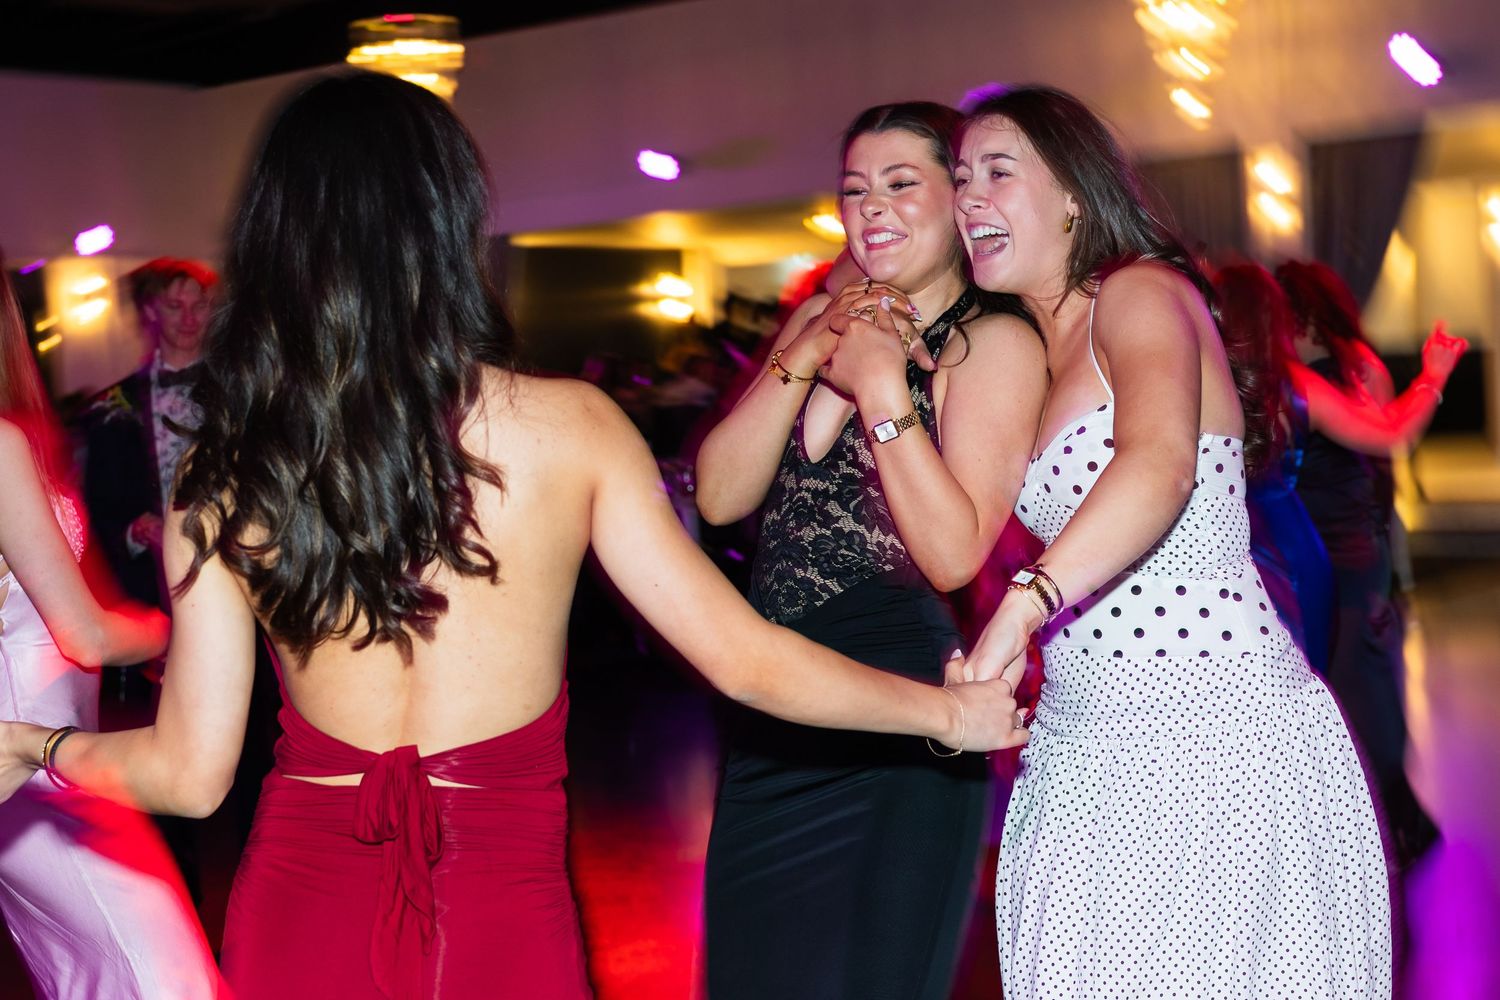
Using a slower shutter (1/20–1/60) brightens the background and adds motion blur while your flash freezes the subject. Great for parties, dance floors, and creative event shots. This works best with less available ambient light.
High-Speed Sync (HSS)
Allows shutter speeds faster than sync speed—great for:
- Backlit portraits
- Outdoor midday shots
- Shallow depth of field with flash
HSS reduces flash power, so staying close to your subject helps.
Master Settings, Master Your Flash
When you understand how each camera setting affects flash, you stop guessing and start controlling the light.
- Shutter controls the background
- Aperture and ISO control flash brightness
- Flash power and distance shape the subject
Once these concepts click, flash becomes predictable and creative instead of intimidating. And with practice—moving between bounce, direct, TTL, and manual—you’ll gain the confidence to light any scene with intention.