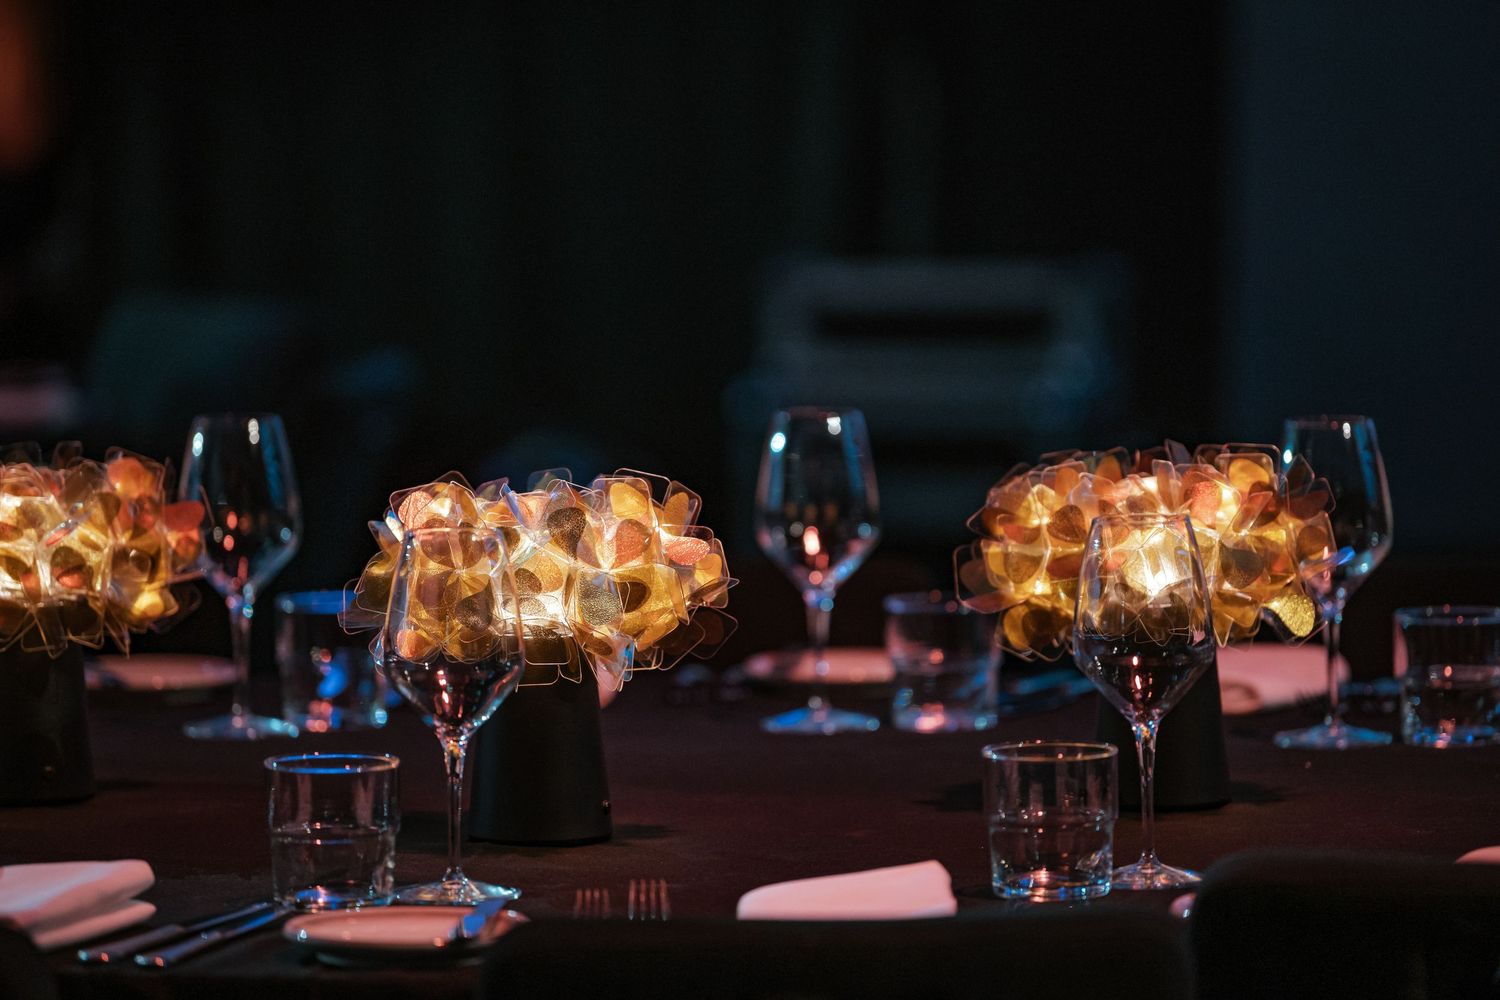
Lighting is one of the biggest challenges new photographers face. Ambient light—whether it’s soft window light or warm golden hour—tends to feel more intuitive because it already exists in the scene. You simply work with what you’re given. Flash, however, requires you to create the light yourself, and that can feel intimidating until you understand how to control it. But once you do, flash becomes an incredibly powerful tool that expands where, when, and how you can shoot.
Flash vs Ambient Light: Understanding the Difference
Ambient light is natural or existing light already present in the environment. It creates atmosphere, depth, and a sense of authenticity. Flash adds light to the scene, giving you control over direction, intensity, and softness. While ambient light captures the true mood of a space, flash allows you to overcome limitations—such as dim rooms, mixed lighting, or fast-moving subjects.
Both types of light can be beautiful. The key is understanding when each one works best.
The Advantages of Flash
Flash gives photographers a level of reliability that ambient light alone can’t offer. You control the source, meaning you can shape it to flatter your subject, fill in shadows, and freeze motion—even in dark or unpredictable environments. This makes flash especially valuable for event photography, indoor shoots, and moments where clarity and consistency matter.
Using flash also allows you to keep your ISO down and your shutter speed up, resulting in cleaner, sharper images. And with modifiers like soft-boxes, umbrellas, and bounce techniques, you can create soft, natural-looking light that blends seamlessly with the surroundings. Getting it right, however comes with knowledge and experience - even when it comes to understanding your modifiers.
The Challenges of Flash
Despite its benefits, flash has a reputation for being harsh or artificial when used incorrectly. Direct flash can create strong shadows, highlights, and that classic “blown-out” look. It also requires more technical understanding: power settings, angles, modifiers, and balancing with camera settings to control ambient light can feel overwhelming at first.
Ambient light, on the other hand, is often more forgiving and atmospheric. It reflects the true feeling of a space, creating depth and contrast when used correctly. Natural window light or late-afternoon sun adds a softness that requires very little manipulation, which is why so many photographers start with it—it simply looks good. But ambient light also has its limitations, especially indoors. Many venues rely on down-lights, which cast harsh shadows under the eyes, nose and chin. They create uneven lighting across faces and make it difficult to capture clear, flattering images without intervention. This is where understanding flash becomes essential.
SO what next?
Bouncing flash
Bouncing flash is often the go-to technique for soft, natural-looking light, but even that has challenges. Bounce only works if the surfaces around you allow it: white ceilings, low ceilings, and neutral-colored walls. High ceilings, timber tones, exposed beams or dark paint all absorb or distort the flash, leaving the image flat, muddy or underexposed. And even in ideal spaces, angle matters. If you bounce while standing too close to your subject, the light falls almost straight down, creating unflattering shadows. A simple trick is to take a step back and zoom in—this raises and softens the angle of light, giving more flattering results without changing any equipment.
But sometimes, the room just won’t cooperate. When there are high ceilings, no clean bounce surfaces, or fast-moving subjects, a direct flash with a simple modifier can actually be the most effective solution. A small softbox, diffuser, or even a basic bounce card can shape direct flash into something soft, controlled and reliable. It may not feel as “fancy” as complex bounce techniques, but in many situations, it’s the lighting setup that delivers the cleanest, most consistent results.
another option
Direct flash
Direct flash often gets a bad reputation because people associate it with harsh, blown-out party photos—but when used well, it can be clean, bold, and incredibly effective. The key is treating direct flash as a stylistic choice, not a last resort. When you understand how to control it, direct flash becomes a reliable tool that works in any environment, including venues with high ceilings, dark walls or no usable bounce surfaces.
To get strong results, start by softening the light with a simple modifier. A small softbox, diffuser dome, or even a basic bounce card helps spread the light evenly and reduces harsh shadows. Pair this with a slightly underexposed ambient light setting—let the room fall a bit darker—and let the flash bring your subject forward. This contrast gives your images dimension and prevents the scene from looking flat.
Intentional direct flash also comes down to consistency. If every shot in a sequence uses the same style of lighting, it feels deliberate rather than accidental. Embrace the aesthetic: clean, bright subjects with a bit of edge and clarity. It works beautifully for events, dance floors, street-style portraits and low-light venues where you need reliability over perfect ambient mood.
Angles also matter. Shooting slightly above eye level can eliminate deep under-chin shadows, and keeping a comfortable distance between you and your subject helps the flash spread more evenly. Direct flash doesn’t need to be harsh—when balanced with the right exposure settings and a simple modifier, it becomes an intentional artistic choice that stands out, elevates your images, and adds a confident, modern look to your work.

Ambient Light

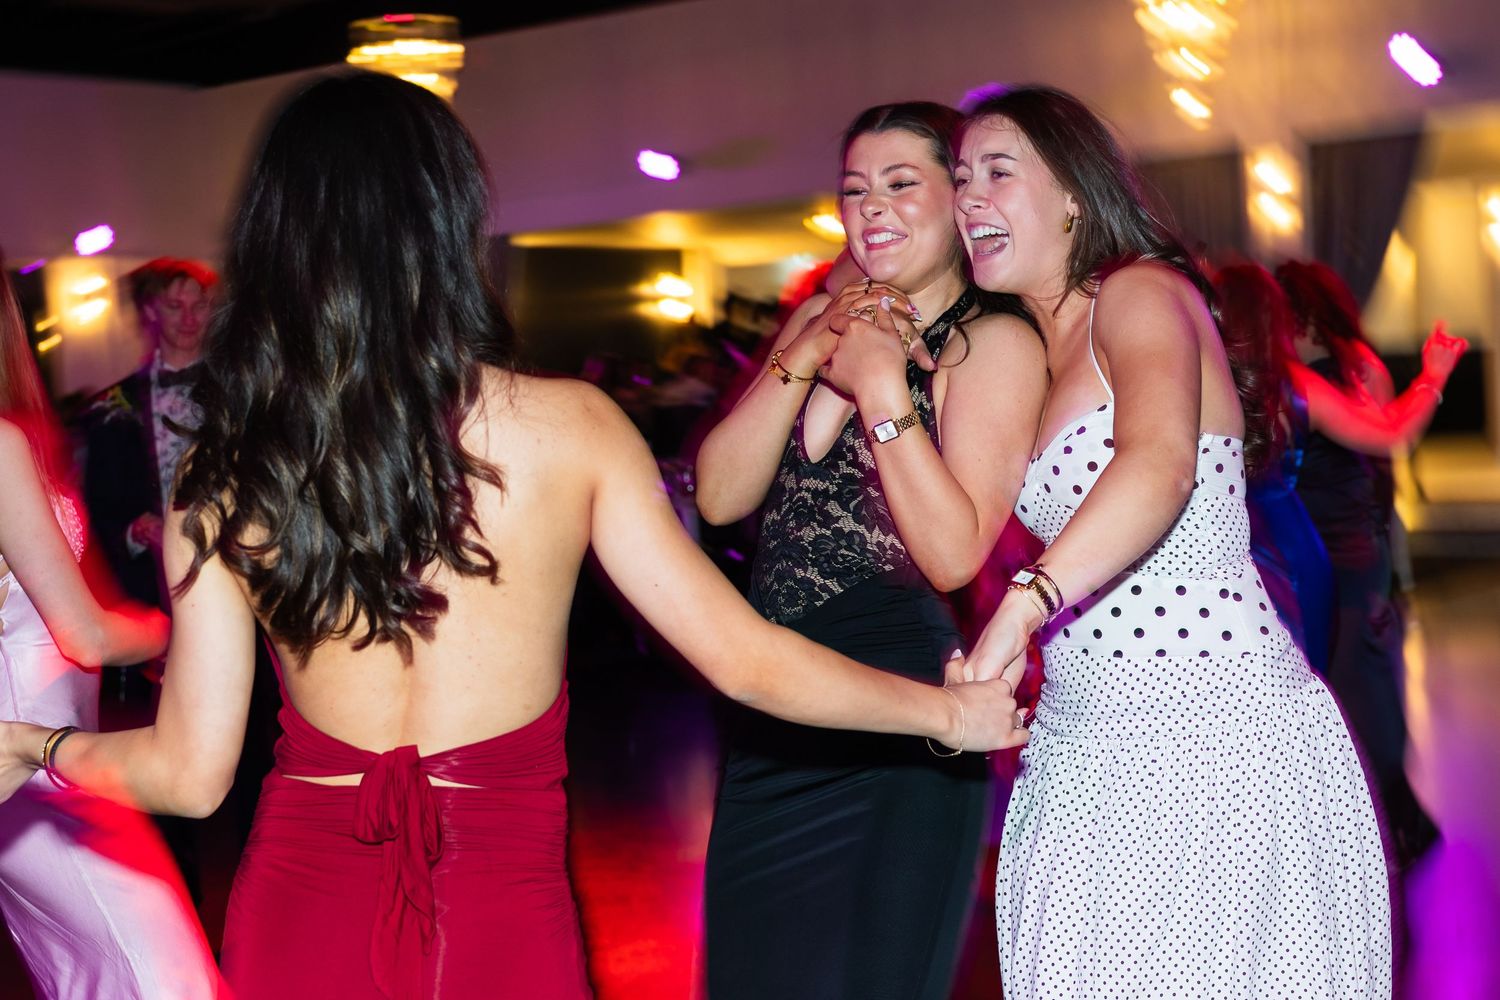
Bounced Flash
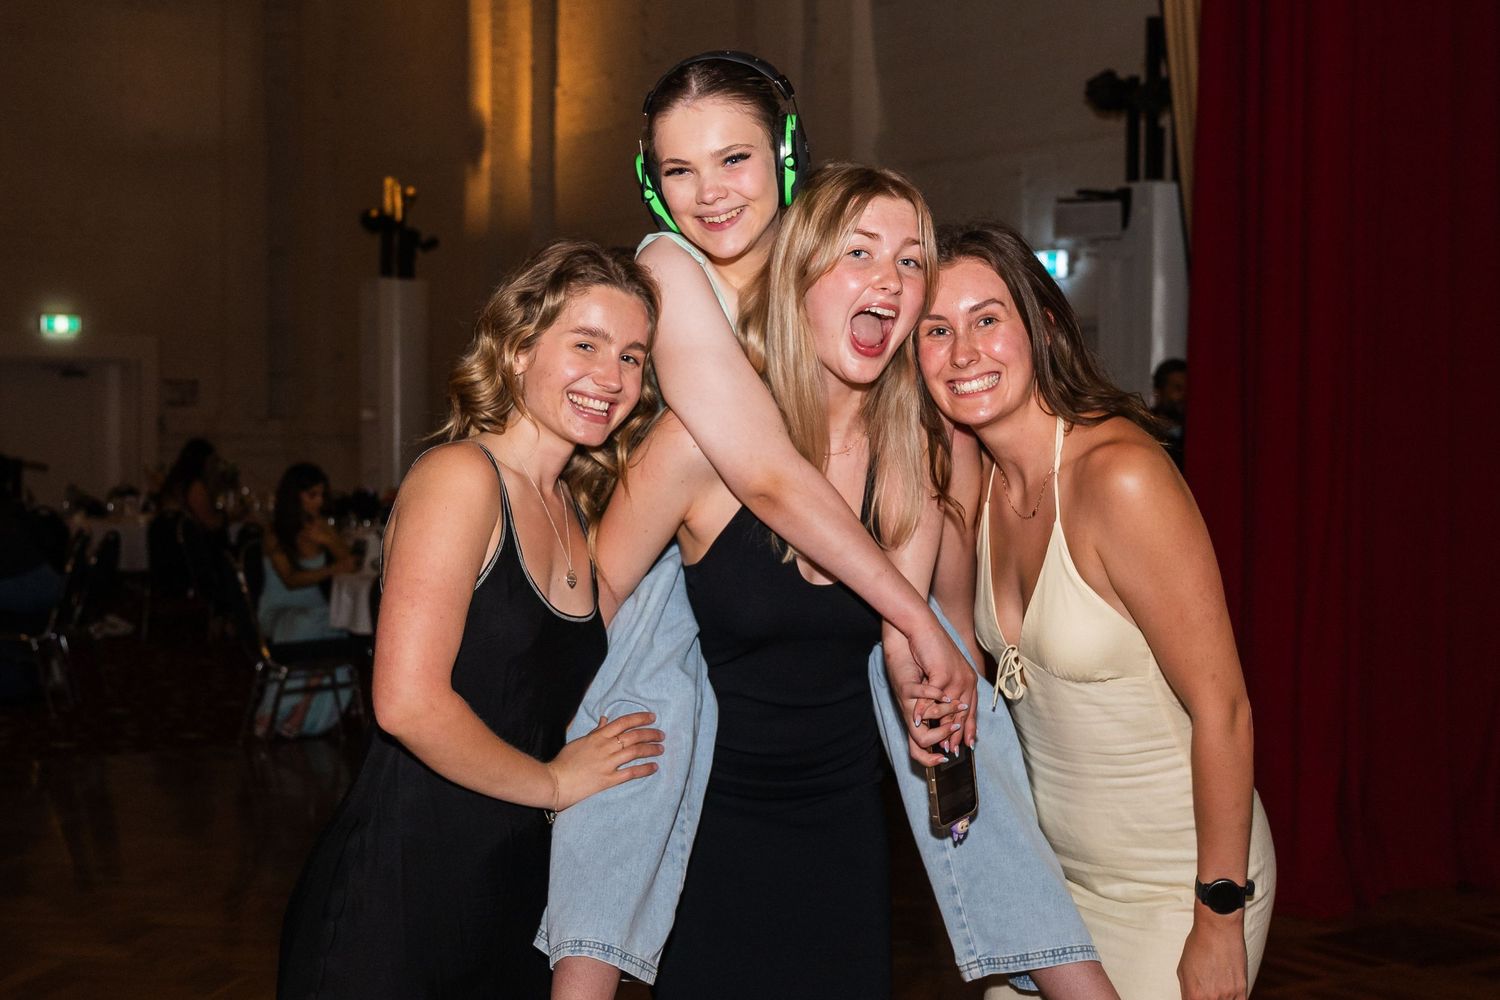
Direct Flash
Practical Tips for Getting Started
1. Let TTL Help You Get Started
TTL (or E-TTL) is your shortcut to getting the right flash power without guessing. The flash fires a tiny pre-burst, your camera reads the light, and it sets the power for you. It’s perfect for events, moving subjects, or changing distances.
If the flash looks too bright or too dark, use Flash Exposure Compensation (FEC) to nudge it:
- Go –0.3 to –1 if faces look washed out
- Go +0.3 to +1 if everything looks too dark
- Once you’re confident, you can switch to manual flash for total consistency—but TTL is the easiest way to learn the feel of flash lighting.
2. Understand How Your Camera Settings Control Flash
Flash and ambient light behave differently, but it’s simple when you break it down:
Shutter speed = background brightness
- Slower shutter = brighter room. Faster shutter = darker room.
- (Flash exposure doesn’t change unless you hit high-speed sync.)
Aperture = flash brightness
- Wide aperture (f/2.8) makes flash look stronger.
- Narrow aperture (f/8) makes flash weaker.
ISO = boosts both flash and ambient
- Higher ISO brightens everything and reduces how hard the flash has to work.
A quick formula to remember:
Shutter controls the background. Aperture + ISO control the flash on your subject.
3. Keep Your Setup Simple and Practice With Intention
Start in an easy environment where you can experiment without pressure. Try bouncing flash off a white ceiling or wall—just remember it only works well on low, light-coloured surfaces. If ceilings are high or dark, bounce won’t help and can even create weird colour casts. Step back and zoom in when bouncing to avoid shadows under the eyes and chin.
When bounce isn’t an option, use a simple direct-flash modifier. A small softbox or bounce card gives a clean, intentional look, especially indoors with tricky down-lights that create harsh shadows. Direct flash with a basic modifier is often the most reliable solution in difficult rooms.